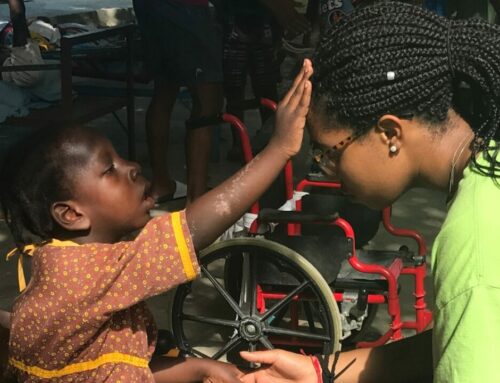
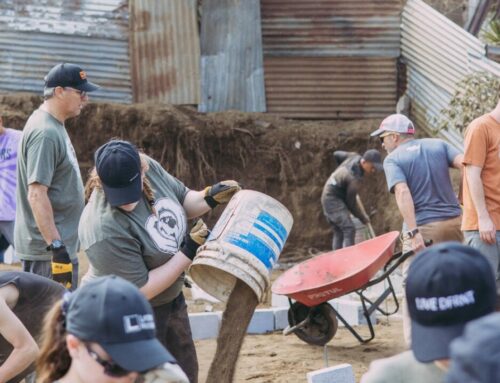
Before you book your international mission trip and starting fundraising there are some basic and practical things to take care of. Now is a good time to start working on a simple, functional and practical plan to make your summer mission trip a success. This week, we will go step by step through the USA passport application process to kick off your time as a volunteer abroad.
1) Have the necessary documentation. The major necessary documentation are Proof of Citizenship and Proof of Identity. There are a number of different documents that can be used, depending on if this is the first time application or if the passport is for a minor.
- Proof of citizenship includes a previous US passport or a birth certificate for those born inside the US. For those born outside the US, a Consular Report of Birth Abroad, Naturalization Certificate, or Certificate of Citizenship will be necessary.
- Proof of identity includes items like a previous US passport, driver’s license, current government or military ID, or a Naturalization Certificate. These items should have your photo and your signature.
- If you do not have one of those forms of ID, you will need two forms of what are called “secondary ID”. These include items like a social security card, credit card or library card. You can also appear with an identifying witness, who will need their own sufficient forms of ID.
2) Get a passport photo. You will need a passport photo. This is not just a normal photo: it must be a very particular size and you must be clearly visible. The easiest way to get this photo is to go to a place which takes these photos. Many large chain grocery and drug stores will do this if they have a photo lab.
3) Fill out the appropriate form. This is form DS-11 in almost all cases. This can be filled in by hand at the place where you submit the form, or online (after which you will need to print it out). This form asks for your details (where you live, where you were born, your Social Security Number, etc) as well as information like your height and eye color. Filling in your SSN is absolutely required.
4) Submit form and documentation in person. Unless you are renewing an adult passport, you will usually have to submit your application in-person. This can be done at your local passport authority, or at designated locations (often major post offices). You will also need to apply in person if you changed your name since your previous passport, if it has been more than 15 years since your last passport was issued, or if your previous passport was stolen, lost, or damaged.
- Acceptance Facility. You may locate the Acceptance Facility nearest you, by visiting the Passport Acceptance Facility search page. Acceptance facilities may include post offices, clerks of court, public libraries or other state, county, township, and municipal government offices.
5) Have money for the fee. You will have to pay for your passport and it is relatively expensive, so be prepared. The fee for a basic, first-time adult passport totals $135. It is less if you are renewing or if you are getting a passport for a minor. This fee can be paid by bank check, credit card, money order, and sometimes personal checks, depending on the facility where you submit your application.
Now you can track your application online. You can track your application on the official website, which you should be informed of when you submit the application. It takes roughly a week after submitting the forms for your status to appear. You will want to keep an eye on it, since you only have 90 days from issue date to report that your passport has not arrived. Don’t forget about it and then need to reapply! Your summer mission trip depends on it! You might also want to start to investigate visa requirements for your time as a volunteer abroad. More on those next week!
DISCLAIMER: All information is correct at the time of publication, please be sure to double check the rules before you start your passport application.